
視線入力デバイス、Tobiiを使うためには、開発環境が必要です。
ここでは、UnityにTobii開発環境を入れる方法と、視線入力までを紹介したいと思います。
Tobii Unity SDK for Desktop のダウンロード
開発環境のダウンロード先は、Tobii/Developer Zoneです。
ダウンロードには、Tobiiのログインが必要になりますので、アカウント登録を事前に済ませてください。
https://developer.tobii.com/pc-gaming/downloads/
PC Gaming → Downloads のUnity 「Tobii Unity SDK for Desktop」からダウンロードできます。
ここでは、4.0.6 にて進めますが、2021/09/05 現在、4.1.0が公開されています。
Unityプロジェクト作成
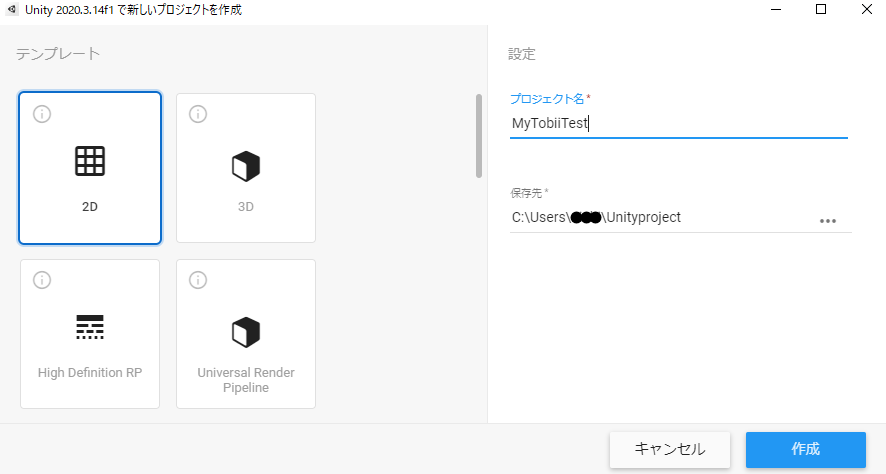
Unityを起動、新しいプロジェクトを作成していきます。
DeskTopにあるUnity Hubを起動し、新規作成を押します。

テンプレートで「2D」を選択、プロジェクト名に「MyTobiiTest」を入力し、保存先を確認して「作成」を押します。
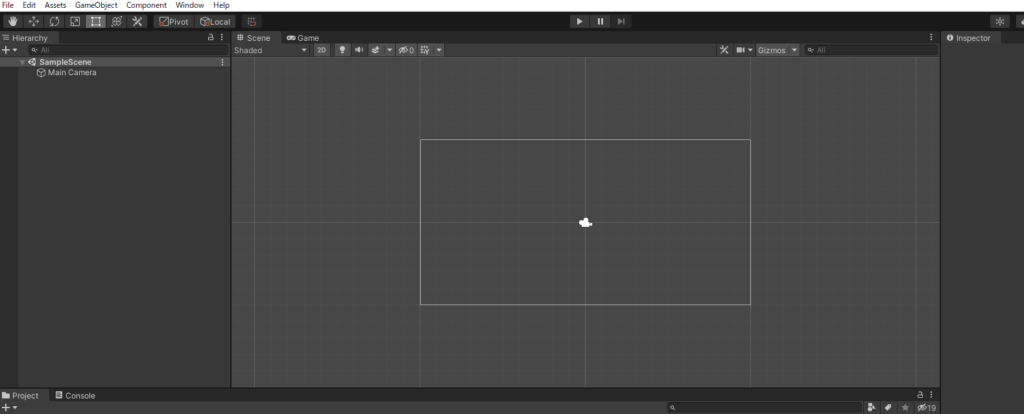
しばらくたつと、プロジェクト作成が終わり、Unityの画面になります。
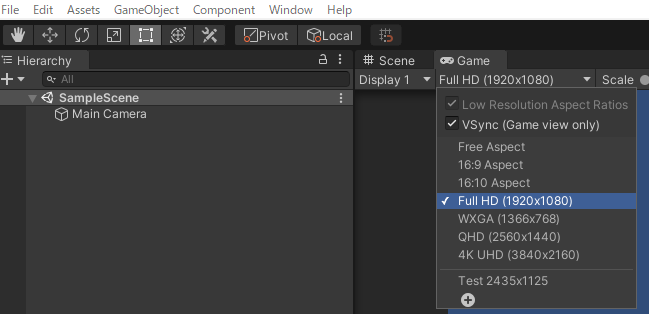
まず、「Game」タブの「Free Aspect」の「▼」にてリストを表示させ「VSync」にチェックを入れます。

その後、解像度を「Full HD」にします。(ここでは、Full HD固定にしています)
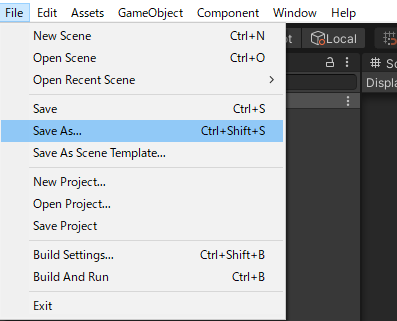
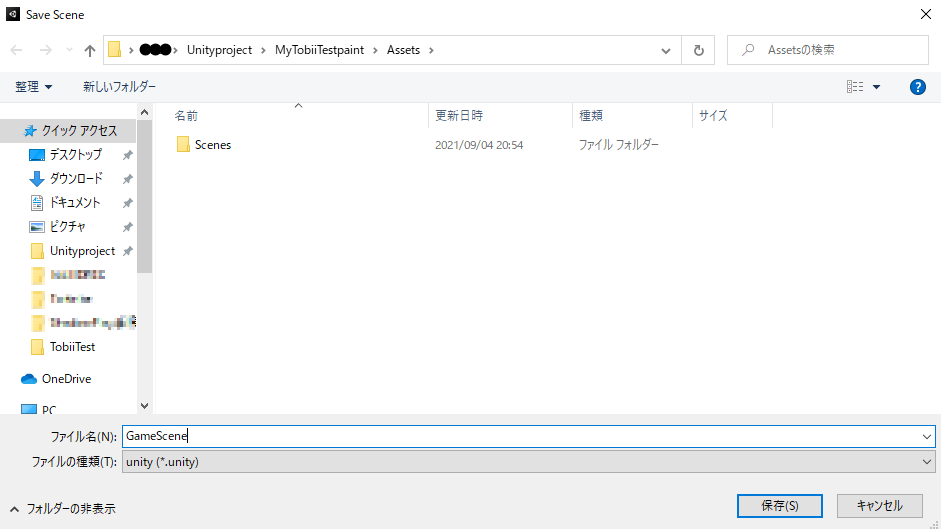
Sceneの名前を「GameScene」にするため、メニューの「File」→「Save As」を選択。
ファイル名「GameScene」を入力し、「保存」を押します。
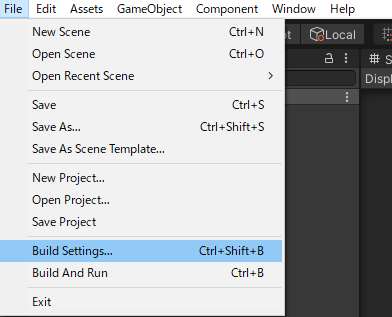
作成したSceneを表示できるように「Build Settings」を修正します。
メニューの「File」→「Build Settings」を押します。
「Add Open Scenes」を押すと、「Scenes In Build」に先ほど作成した「GameScene」が追加されます。
「Scenes/SampleScene」のチェックを外し、「GameScene」のチェックを入れます。
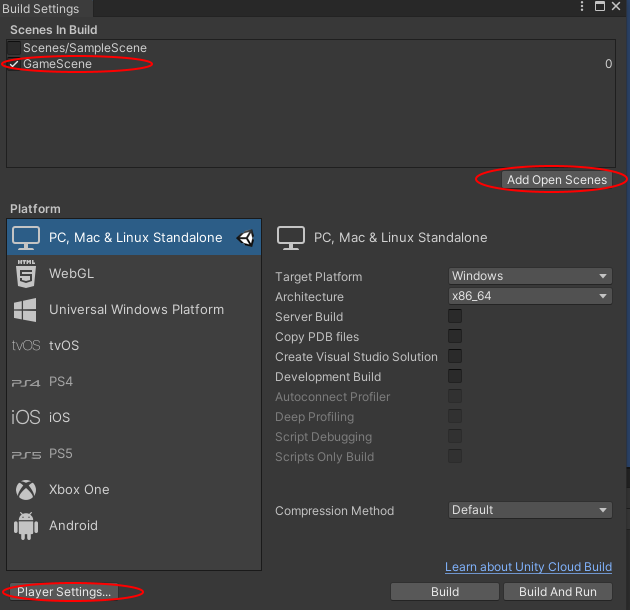
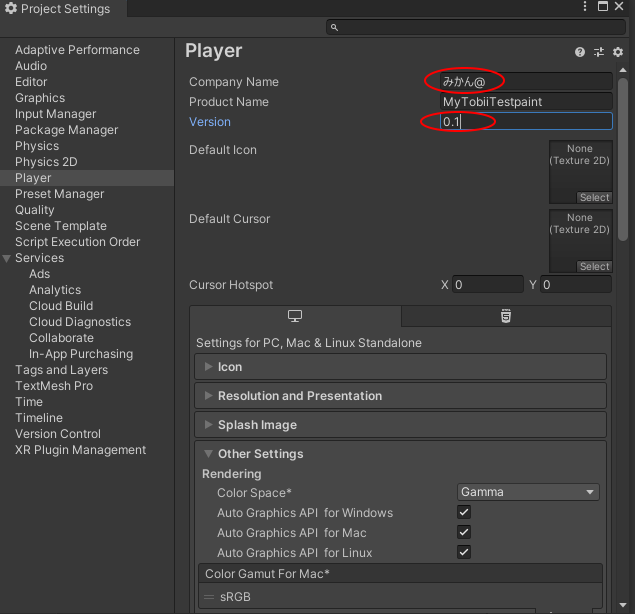
「Player Settings」を押し、アプリ製作者情報とバージョンを入れ、右上の「×」で、「Build Settings」と「Project Settings」を閉じます。
これで、Unityのプロジェクト作成は完了です。
Tobii Unity SDKをインポート
あらかじめダウンロードしておいた「tobii-unity-sdk-4.0.6.unitypackage」をインポートします。
メニューの「Assets」から「Import Package」を選択。
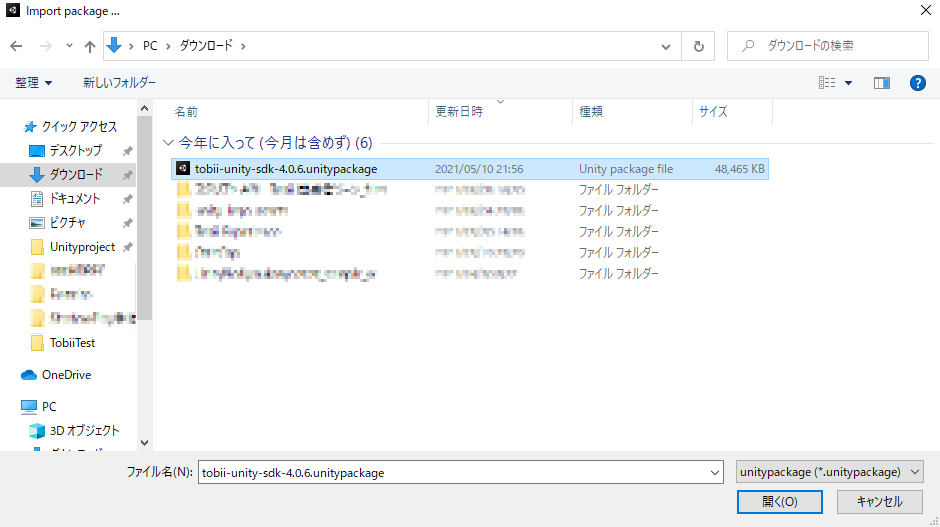
「tobii-unity-sdk-4.0.6.unitypackage」を選択し「開く」を押す。
パッケージの中から、何をインポートするかを聞いてきます。
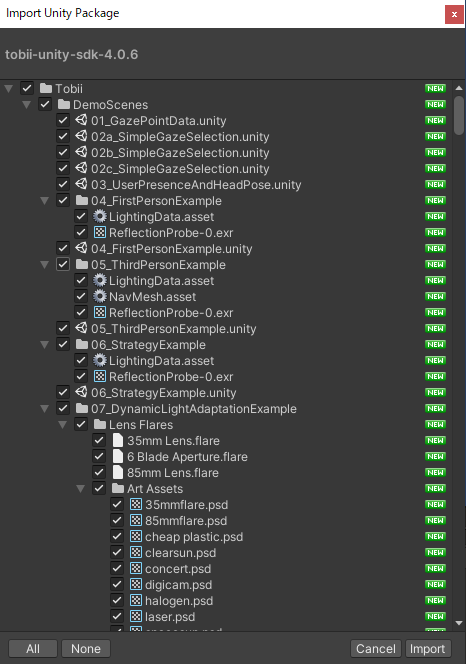
全部インポートしても良いのですが、「DemoScenes」は不要なので、チェックを外します。
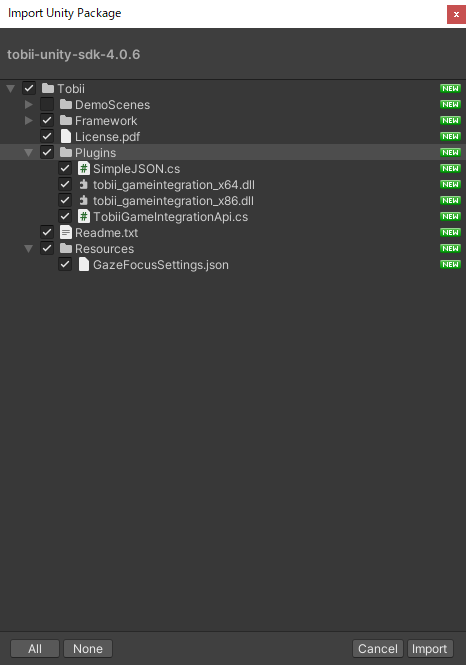
右下にある「Import」を押します。
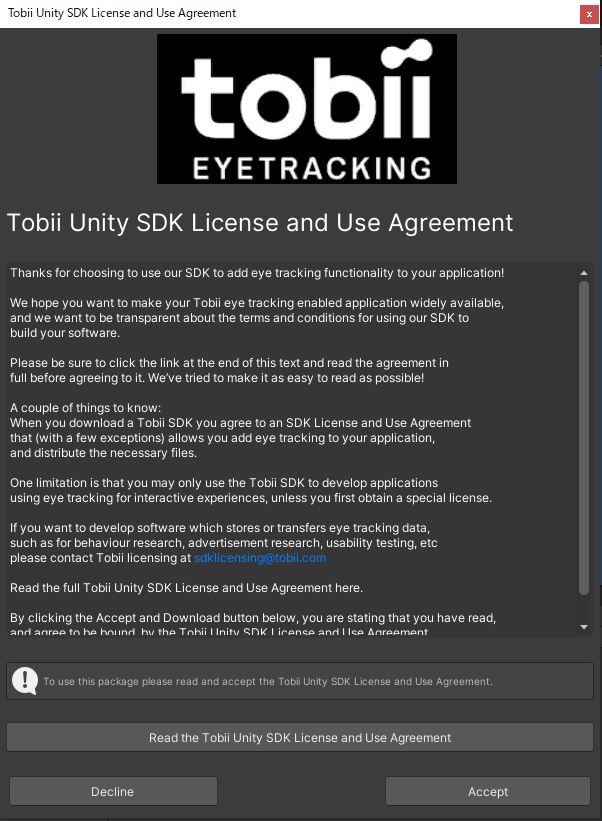
ライセンスと使用許諾の画面が出ます。よく理解してから、「Accept」を押します。
ライセンスについては、下記サイトをよく読んでください。
商用開発、研究開発をする際、ライセンス契約が必要になりますので、注意してください。
https://developer.tobii.com/license-agreement/
これで、準備完了です。
視線の座標をDebug.Log()で表示しよう
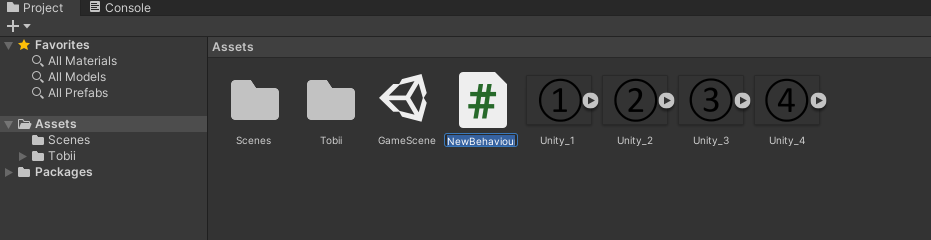
まず、対象物を配置します。簡単に、①から④までのPNG画像を作成、配置します。
①から④までのPNG画像は、Paint.Netなどのフリーソフトを使用することで簡単に作成できます。
画像を選択し、Assetsにドラッグ&ドロップし、Unity projectに読み込ませます。
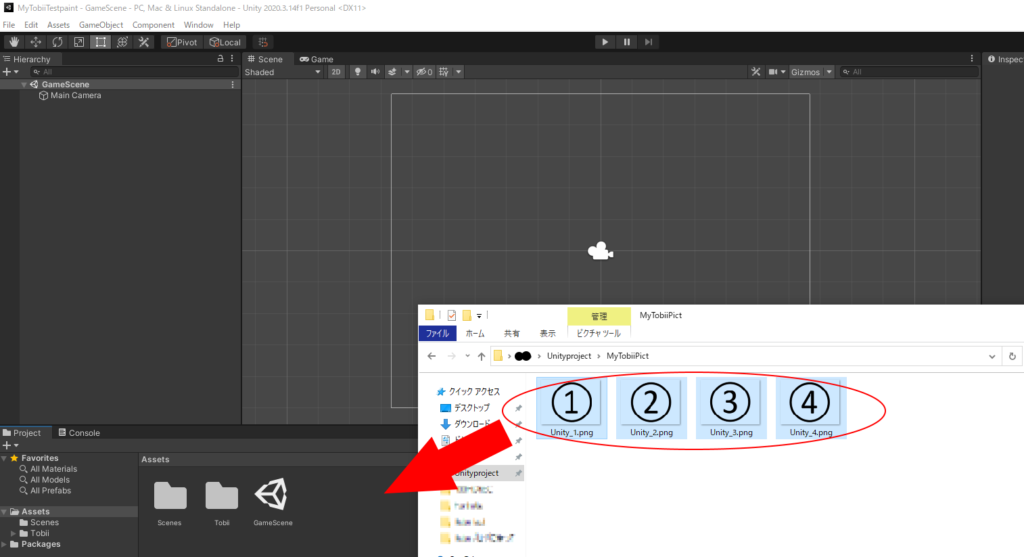
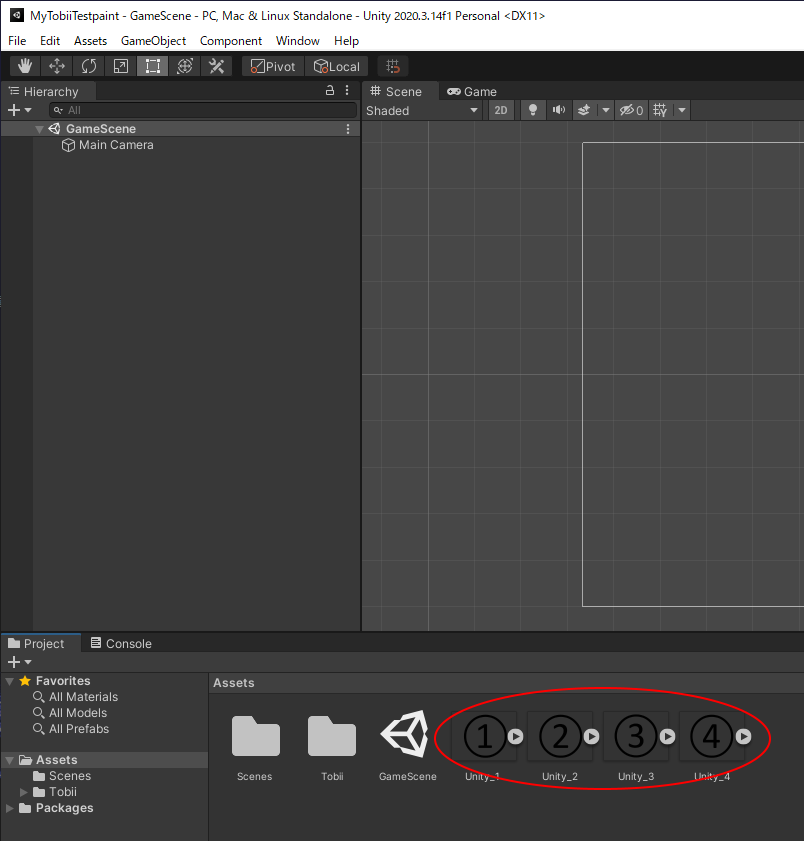
①画像を選択して、GameSceneに配置します。
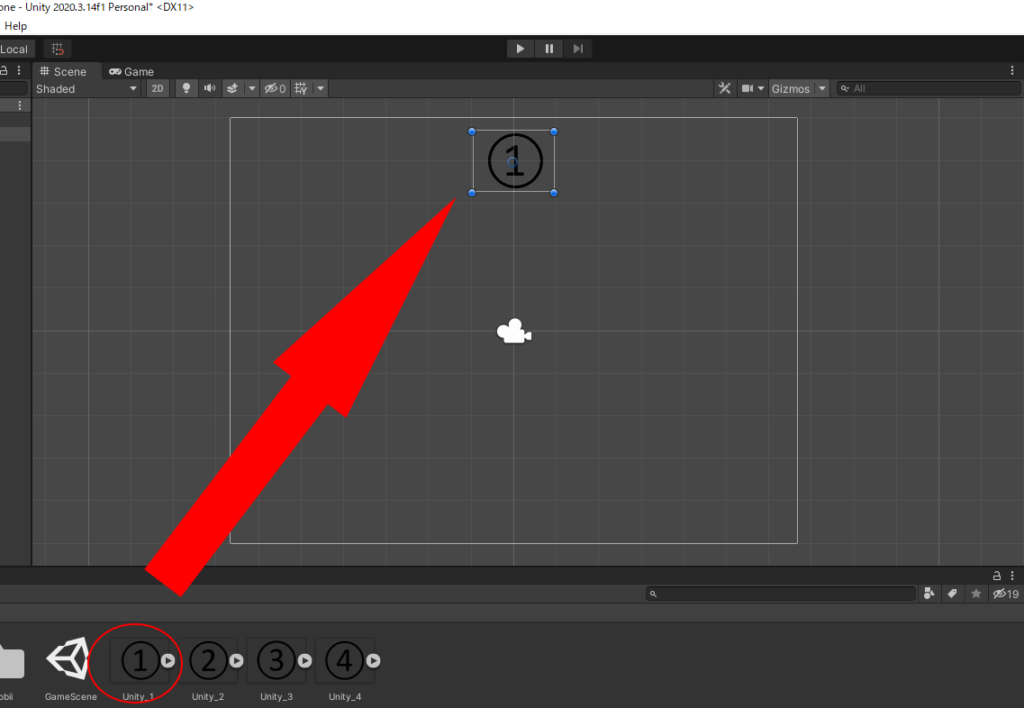
同じ要領で、②から④も配置します。
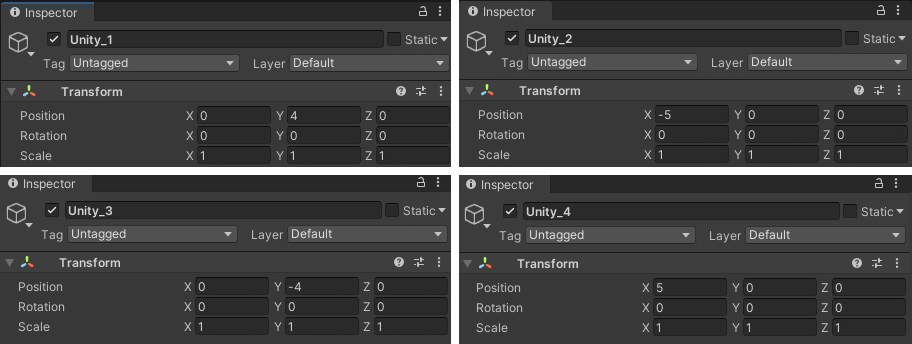
①から④のInspector ウインドウ「Transform」にてX、Yの位置を調整します。
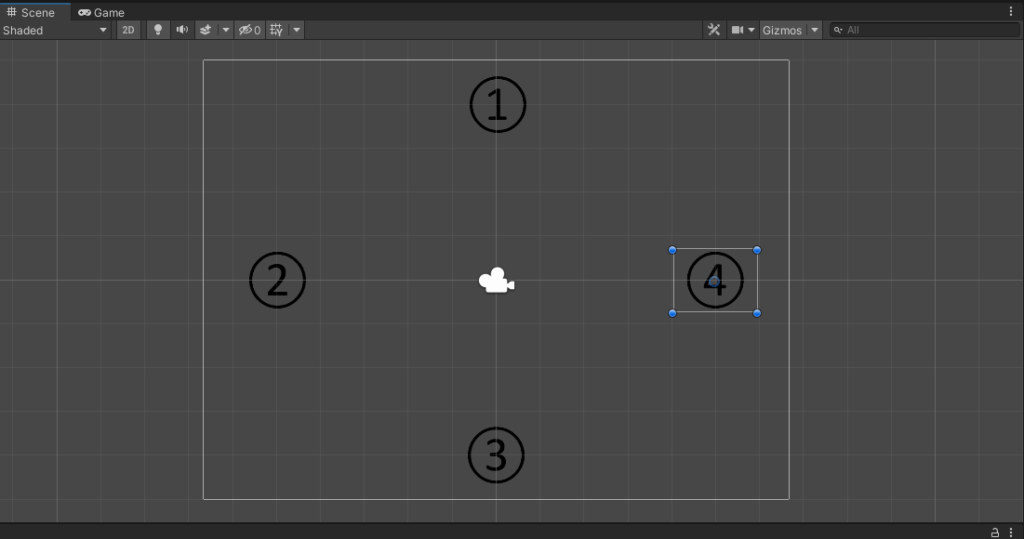
これで、配置が終わりました。いよいよ、視線を読み込んで、その位置をDebug.Log()で表示するようにします。
まず視線はUIを操作するものと考え、対象(①から④)への視線を取得し、Debug.Log()表示する処理は、監督スクリプトに実施してもらいます。
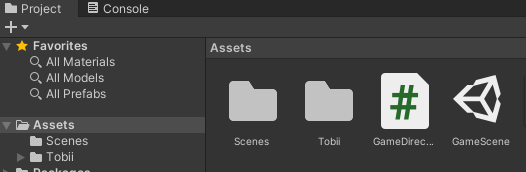
それでは、AssetsにC#スクリプトを追加します。

projectウインドウの「+」を押し、
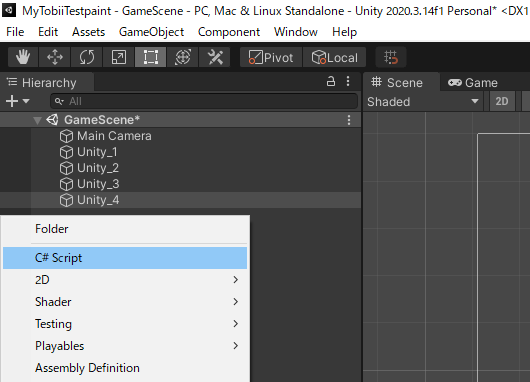
「C# Script」を押します。
スクリプトのファイル名を「GameDirector」にします。
では、スクリプトを書いていきましょう。
先ほど作成した、Assetsの「GameDirector」を開きます。右クリックして、「Open」を押します。

すると、Visual Stadioが起動します。
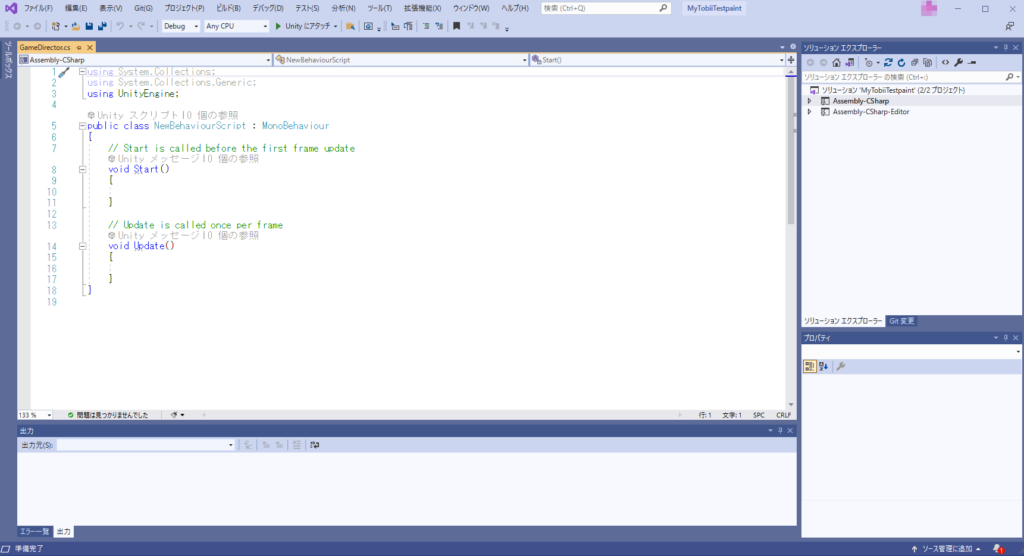
Unity が自動生成するコードが入っている状態で起動します。
もし、class名が間違っていた場合、「GameDirector」に変更します。
using System.Collections;
using System.Collections.Generic;
using UnityEngine;

public class GameDirector : MonoBehaviour
{
    // Start is called before the first frame update
    void Start()
    {

    }

    // Update is called once per frame
    void Update()
    {

    }
}
Start()やUpdate()については、Unityを調べれば見つかりますので、そちらで確認してください。
ここに、Tobii 視線の座標を取得するコードと、取得した座標をDebug.Log()に渡す処理を追加します。
using System.Collections;
using System.Collections.Generic;
using UnityEngine;
using Tobii.Gaming;

public class GameDirector : MonoBehaviour
{
    float fSpan = 0.2f, fDelta = 0f;

    // Start is called before the first frame update
    void Start()
    {

    }

    // Update is called once per frame
    void Update()
    {
        this.fDelta += Time.deltaTime;
        if (this.fDelta > this.fSpan)
        {
            GazePoint gPoint = TobiiAPI.GetGazePoint();
            Debug.Log("GazePoint(X,Y):" + gPoint.Screen.x + ", " + gPoint.Screen.y
                      + "\nΔ:" + this.fDelta.ToString());
            this.fDelta = 0;
        }
    }
}
GazePoint gPoint = TobiiAPI.GetGazePoint();
で視線の座標を取得します。続く、Debug.Log()にて、UnityのConsoleに表示します。
fSpan、fDeltaは、200msに1回視線を取得するために用意しています。また、Time.deltaTimeについてもUnityにて調べてもらえれば出てくると思いますので、そちらで確認してください。
これで、監督スクリプトが作成できました。
次に、空のオブジェクトを作成してアッタッチします。これで空のオブジェクトは監督スクリプトに書かれた通りに動作するオブジェクトになることができます。
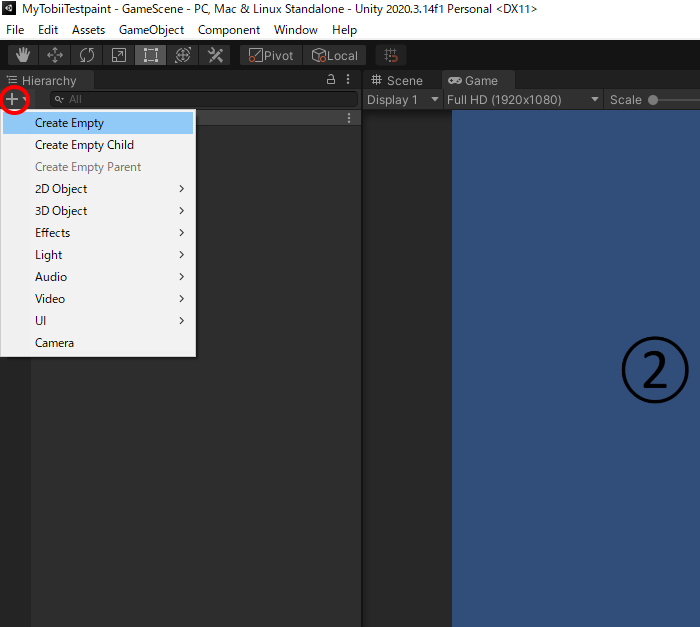
Hierarchyウインドウの「+」を押し、「Create Empty」を押して空のオブジェクトを作成します。
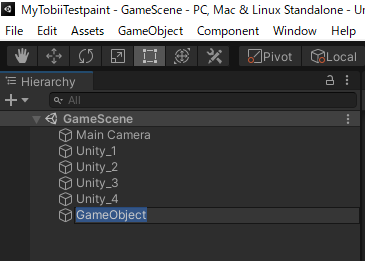
オブジェクトの名前を「GameDirector」にします。
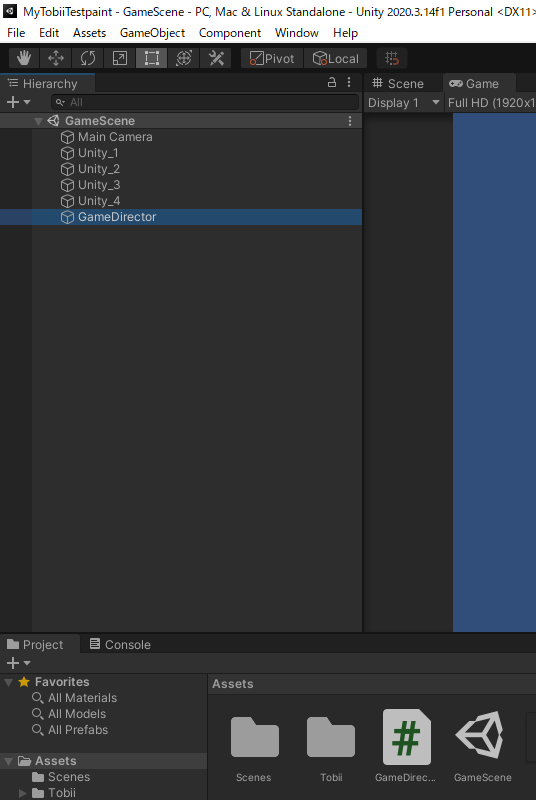
GameDirectorオブジェクトに、GameDirectorスクリプトをアッタッチします。
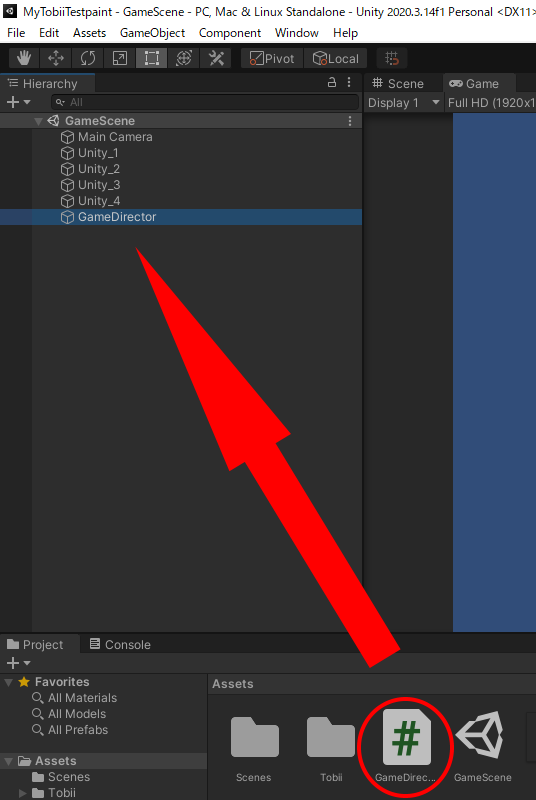
Assetsウインドウの「GameDirector」をドラッグして、Hierarchyウインドウの「GameDirector」にドロップします。
これで、視線の取得と表示が完了しました。では、動かしてみましょう。
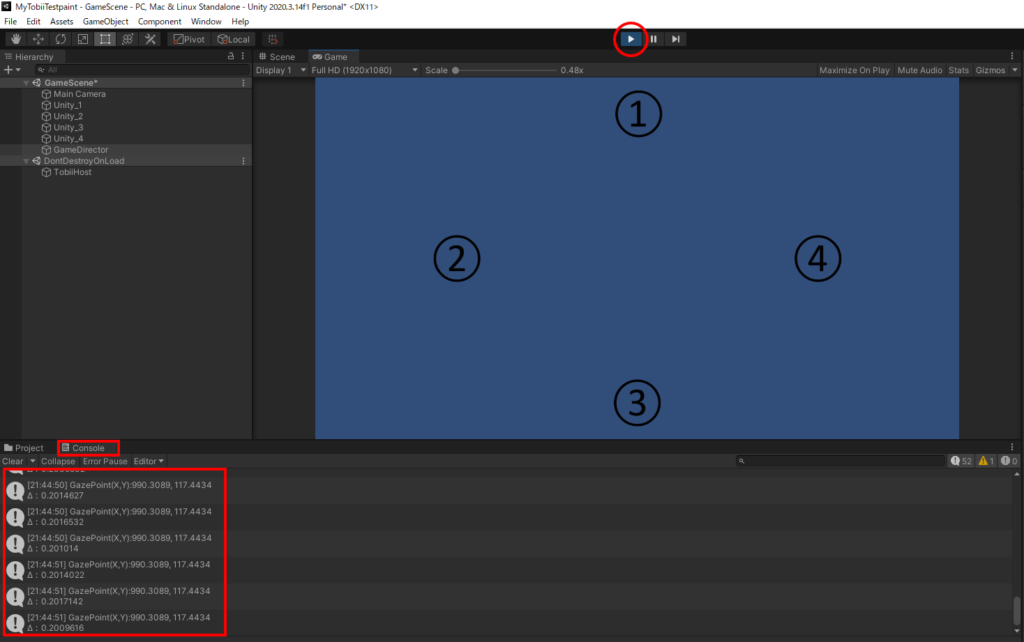
再生ボタンを押すと、動き始めます。
Consoleウィンドウに、Tobiiが検出した視線の情報が表示されました。
これで、今回の目的は達成です。
結果の確認
Consoleには、下記のように表示されました。
- GazePoint(X,Y):1060.884, 1005.29
- GazePoint(X,Y):507.8003, 565.5256
- GazePoint(X,Y):1023.843, 133.8303
- GazePoint(X,Y):1537.149, 572.531
①から④までのTransform.Position設定は下記です。
- X = 0, Y = 4
- X = -5, Y = 0
- X = 0, Y = -4
- X = 5, Y = 0
GameSceneの座標系は、中央を基点(X=0、Y=0)としているため、Transform.Positionの値になります。
視線の座標系は、GameSceneの左下を基点にし、右上に向かって増加します。
最大値は解像度の値(ここでは、X=1920, Y=1080)となります。
ですので、視線の情報を何かしら、変換しないといけない気がしてきます。
スポンサーリンク